Quasar Photons on a Paycheck: Gear That Can Actually Catch Light From 10 Billion Years Ago
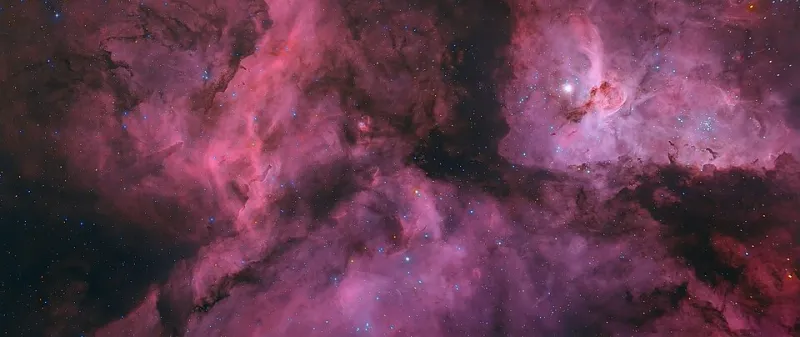
Photo: Dylan O'Donnell, deography.com, CC0, via Wikimedia Commons
Somewhere over the Pacific, right now, photons that left a quasar when Earth was a very different planet are slamming into the atmosphere above your house. A handful of those photons could end their twelve-billion-year journey by hitting a sensor in your backyard.
That's not poetry. That's an achievable weekend project — if you buy smart. Let's break down exactly what it takes, at three very different budget levels, to point a real telescope at something so far away it makes interplanetary distances look like a trip to the mailbox.
First, a Reality Check: What You're Actually Doing
A bright quasar like 3C 273 glows at around magnitude 12.9. That's roughly 40,000 times fainter than the dimmest star most people can spot with the naked eye from a dark site — and way fainter still under suburban light pollution.
The good news: quasars are point sources, just like stars. They don't need huge aperture to show up; they need enough aperture to collect light, a decent mount to hold steady, and (for the fainter ones) a camera to stack the evidence. This is one of the few deep-sky targets where a modest rig genuinely works.
The Under-$500 Tier: The Bragging-Rights Setup
This is the "I saw it with my own eyeball" tier, and honestly, it's the most satisfying.
- Telescope: A 6-inch Dobsonian (~$350–450 new, way less used). No electronics, no fuss — just a light bucket on a lazy Susan.
- Accessories: A wide-field 25mm eyepiece and a 10mm for zooming in (~$60), plus a right-angle finder or red-dot sight.
- Star charts: Free. A planetarium app like Stellarium will plot quasar positions the same way it plots stars.
What you'll catch: 3C 273 from a genuinely dark site — think a rural park an hour outside town, not your cul-de-sac. It'll look like a faint, unremarkable star, which is exactly the point. That unremarkable star is 2.4 billion light-years away and outshines our entire galaxy.
Suburban compromise: from a Bortle 6–7 backyard, expect to need an 8-inch scope or a camera. Which brings us to...
The $1,500 Tier: The Suburban Workhorse
Now we're solving for light pollution, and the answer is photography.
- Telescope: An 80mm–100mm apochromatic refractor (~$600–900). Refractors are low-maintenance and sharp — perfect for this game.
- Mount: A small equatorial tracking mount, like a Star Adventurer GTi or similar (~$400–500). Tracking is the magic ingredient; it lets the camera stare at one point in the sky for minutes at a time.
- Camera: A used DSLR or mirrorless body (~$300–400) that you may already own. Even better: an unmodified one works fine for a point source.
The technique: Shoot 60–90 exposures of 30 seconds each on a quasar field, then stack them with free software (DeepSkyStacker). A magnitude 15–16 quasar — objects whose light left when the universe was a toddler — becomes detectable in a stacked image from a driveway. Compare the frame against the chart in your app: congrats, you've imaged something a billion times the mass of the Sun.
The $5,000 Tier: The Research-Adjacent Rig
At this level, you're not just detecting quasars — you're measuring them.
- Telescope: A 10–12 inch Schmidt-Cassegrain or a fast 8-inch astrograph (~$2,000–3,000).
- Mount: A mid-range German equatorial mount with serious tracking accuracy (~$1,500).
- Camera: A dedicated cooled astronomy camera (~$1,000–1,500) with low noise for long exposures.
The party trick: Add a star spectrograph/grating (~$200) and you can actually split a quasar's light into its component colors. That famous redshift — the stretch in the light that proves the universe is expanding — becomes something you've measured, not just read about. Citizen science programs actively welcome this kind of data.
A Sample Night Plan: Quasar Session, Start to Finish
Here's how a real session goes at the mid-tier level:
Dusk (30 minutes before dark): Set up the mount, level it, and polar-align while there's still light. Charge check, red flashlight check.
9:00 PM: Let the scope reach thermal equilibrium. Use the time to pull your target quasar's coordinates into your app and center a nearby bright star as your alignment reference.
10:00 PM: Slew to the quasar field. Take a 15-second test frame. If the field looks empty, don't panic — you're hunting a needle in a stellar haystack. Verify against chart stars.
10:30 PM–1:00 AM: Run your exposure series. Keep intervals consistent, check focus every 45 minutes (temperature shifts will drift it).
1:00 AM: Dark frames — same exposures with the lens capped — for cleaning up noise later.
The next morning: Stack, stretch, and label. That faint smudge in your frame? Older than multicellular life on Earth.
One Last Thing
The best quasar in your eyepiece is the one you actually point a telescope at. Start small, drive to dark skies when you can, and remember: every photon you catch has been traveling since before Earth existed. Not bad for a Tuesday night in the driveway.